Migrating a VM in ESXi ARM
I'm going to show you how to add a new datastore to your ESXi-Arm Server and then move a Virtual Machine from the existing datastore to the new one we've added.
Some background - I currently run a Raspberry Pi4 8GB with ESXi-Arm as a home server. I did use a 256GB SD card to install ESXi onto, with the intention of using that for the VM's to run off but I don't think it's possible to actually access the rest of that memory as a datastore to install VM's - I will look into this more at a later date.
As a temporary solution I used an old 100GB external drive I had lying about to create a datastore and run my VM's. It's been working great for what I need and mainly just runs PiHole at the moment which is set up as my DHCP server. However, I decided it would be useful to have my own cloud server where I can store files, photos, etc. therefore saving space on other devices and allowing the files to be accessible from any device I want, I chose to use NextCloud which is super easy to install with Ubuntu Server (20.04.3).
Before I did the NextCloud install, I needed to upgrade my storage; as a quick solution I got a 2TB external HDD and wanted to move my PiHole VM from the old drive onto this new one.
I found out the hard way that the RPi4 cannot power 2 external drives at the same time! 🤦
As standard the RPi4 gives 1.2A to all of the USB ports as a whole. Meaning it doesn't provide enough power for 2 external drives to be powered simultaneously. (There are modifications and ways around this, but I wouldn't recommend doing them.)
As an easier fix, I got a mains powered USB hub which will allow me to plug up to 4 USB peripherals and power them externally instead of the Pi doing it, which then connects to the Pi using a single USB cable. I left the old HDD plugged into the Pi and plugged the new one into the USB hub, powered it on and connected it to the Pi.
Note: You can use a USB stick and an external HDD at the same time as it has lower power consumption.
Now let's begin with the walkthrough!
1. Adding your new drive as a datastore.
You've plugged your new drive into your Pi and you're now ready to set it up as a datastore.
If you click on the main New Datastore button and try adding a new VMFS store, you'll notice it won't show your drive. First you need to go into Storage/Devices/ then select the new drive and click New Datastore, from here you will be able to add the new drive as a datastore.
If you still cannot see your drive you may need to turn off the USB arbitrator, to do this you need to SSH into your Pi, you can use the SSH Console from Host/Actions/SSH Console on the main ESXi dashboard, or just do it the usual way from your terminal - ssh username@IP_addressOfYourPi (Just make sure the SSH service is running from ESXi).
Run these 2 lines -
/etc/init.d/usbarbitrator stop
chkconfig usbarbitrator off
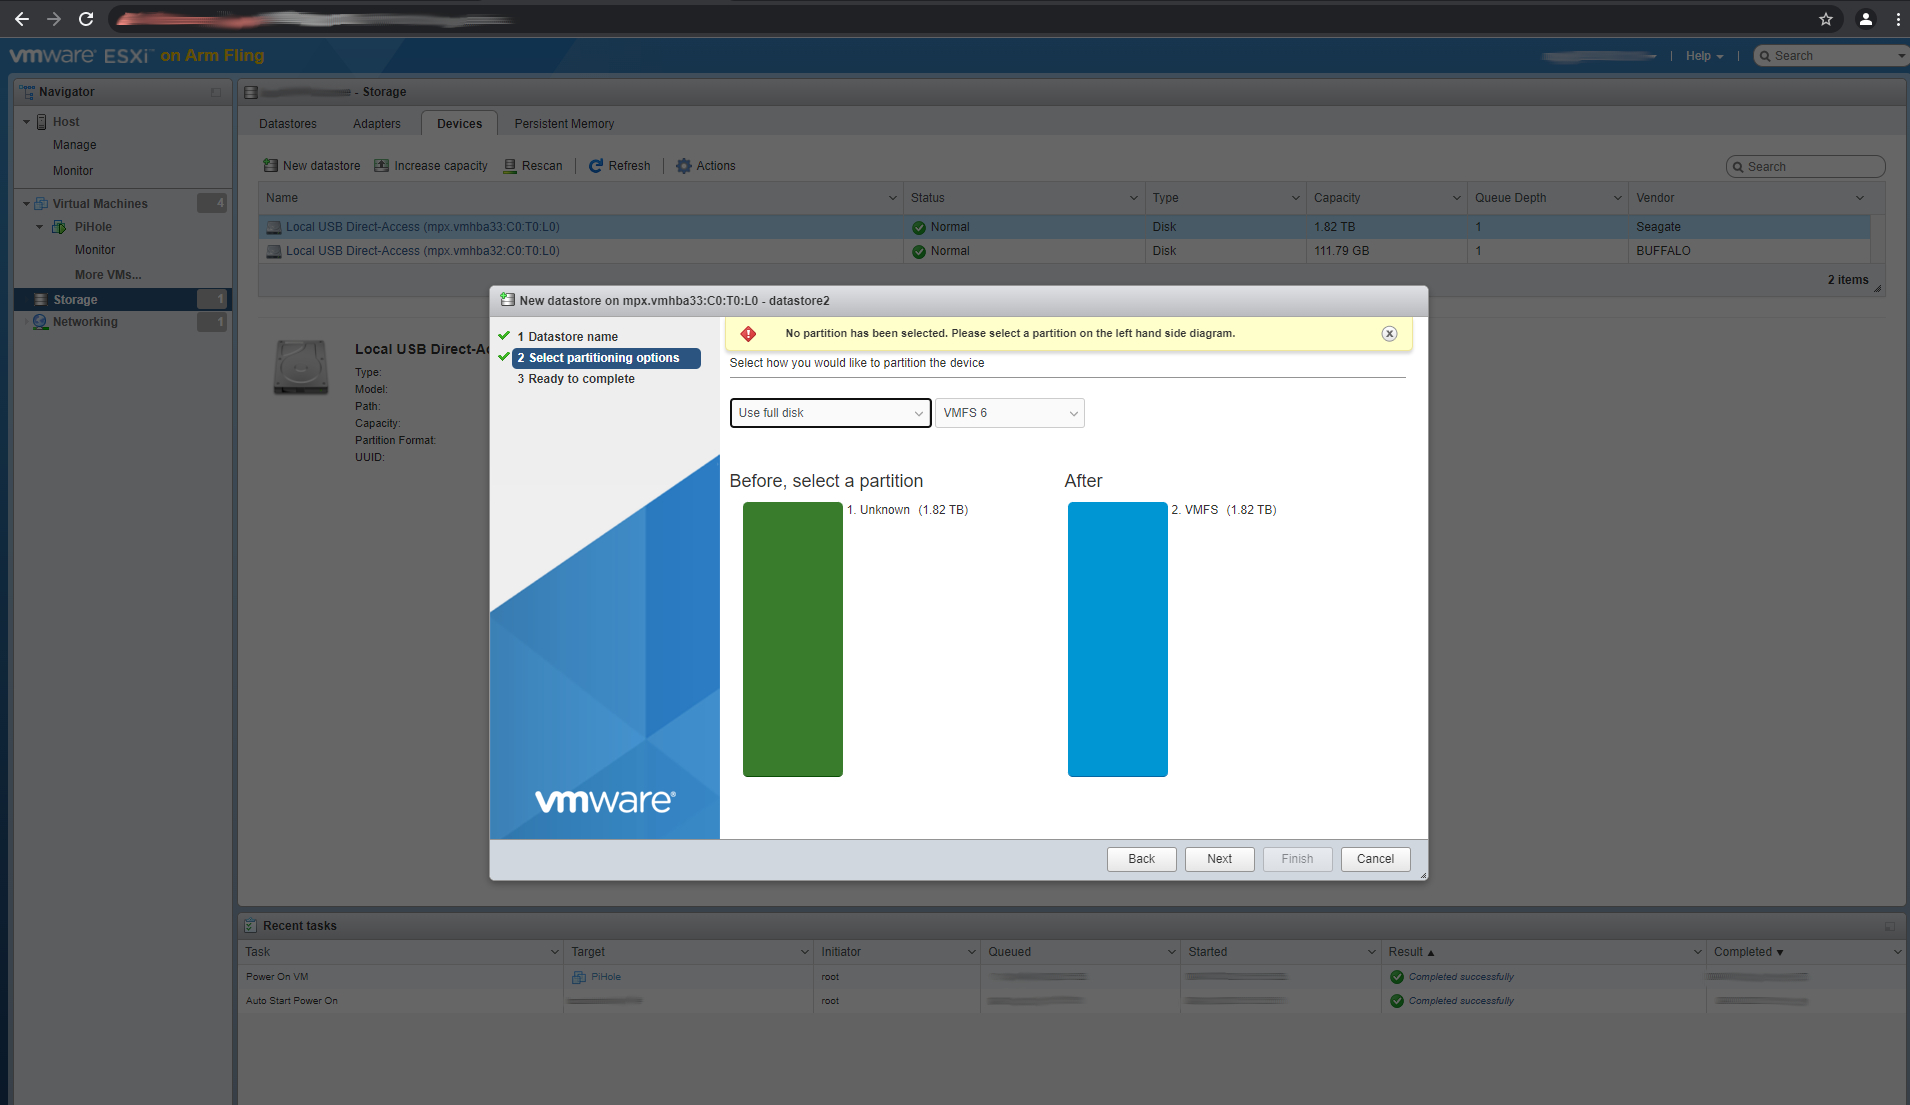

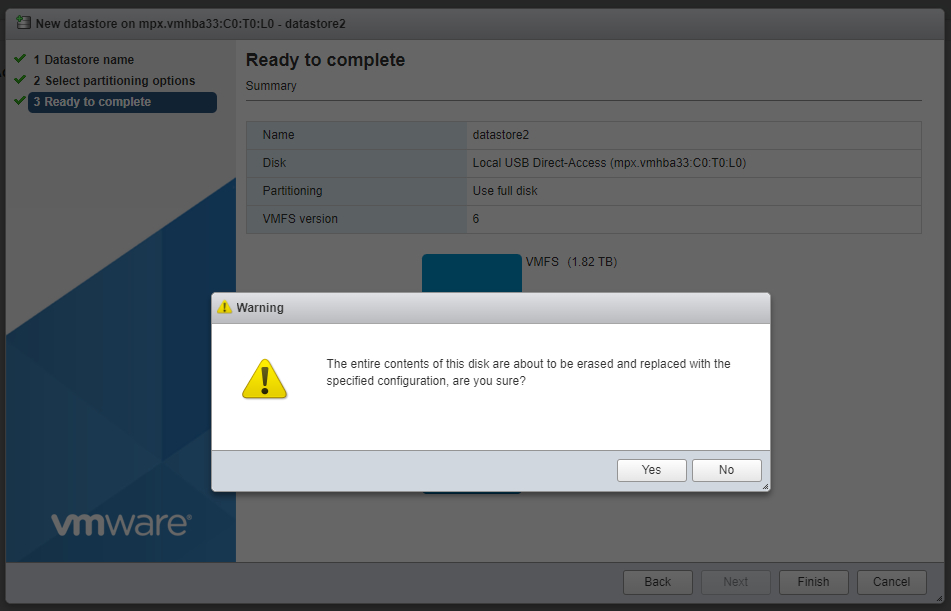
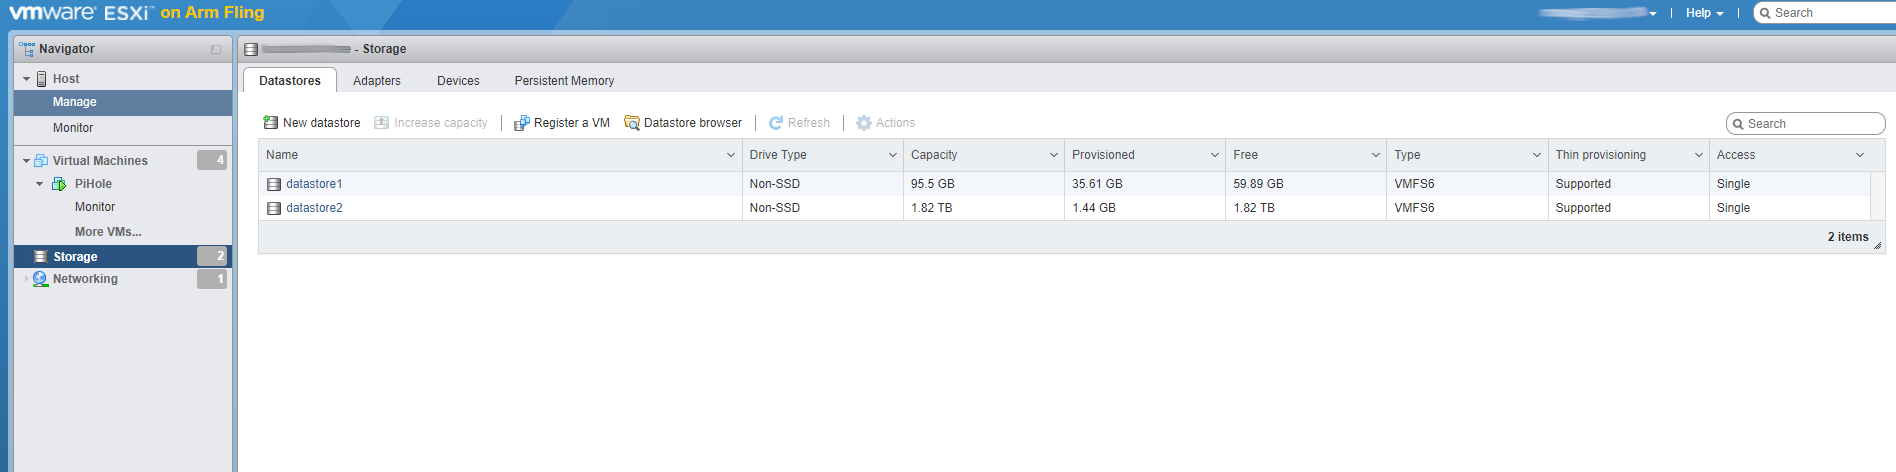
Give your new store a name for you to identify it, then select Use Full Disk, then Next and Finish. And now your new store is ready! 🎉
Now to move your VM across. permalink
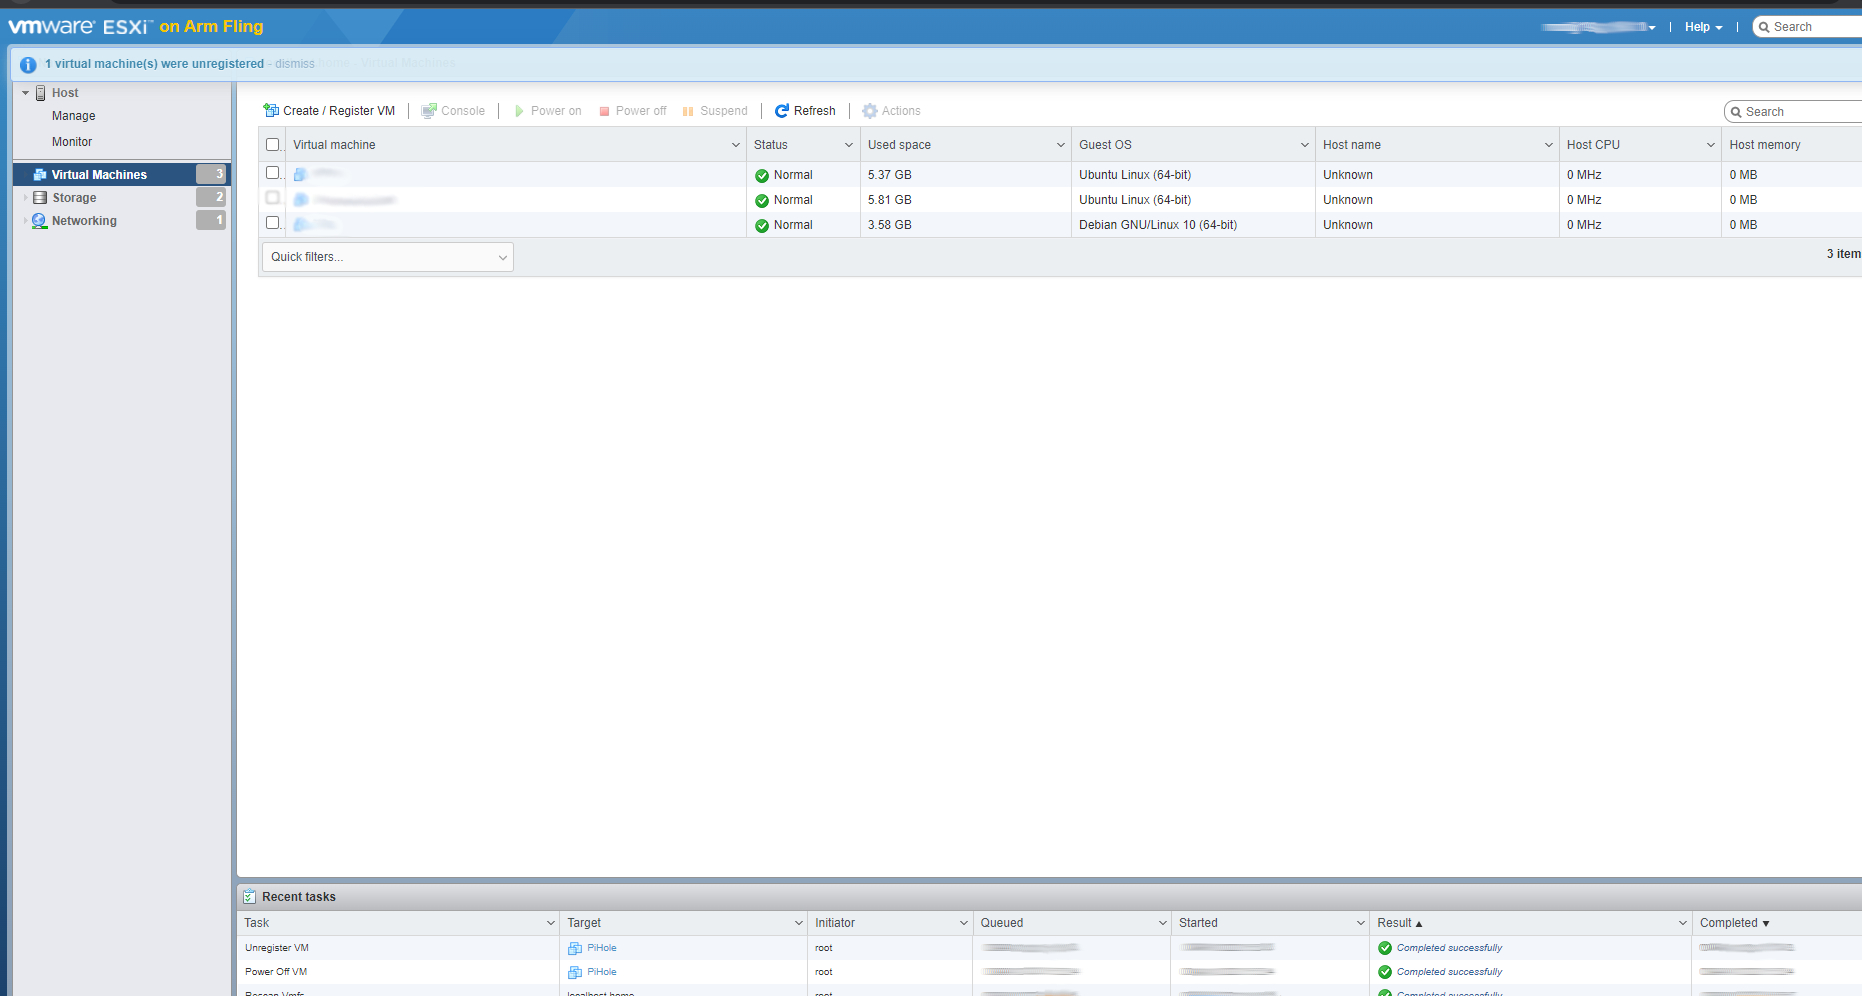
Power off the VM that you want to move. I will be moving my PiHole VM.
Right click on the VM and click 'Unregister'. You will see a banner at the top of the screen advising it's now been unregistered, and the VM will disappear from the Virtual Machines page.
We will now move the VM. Go into your datastore browser and navigate to where the VM is currently stored, click onto the main VM folder so it's highlighted, then select Move. For example I will click on the main PiHole folder, then select Move at the top of the window.
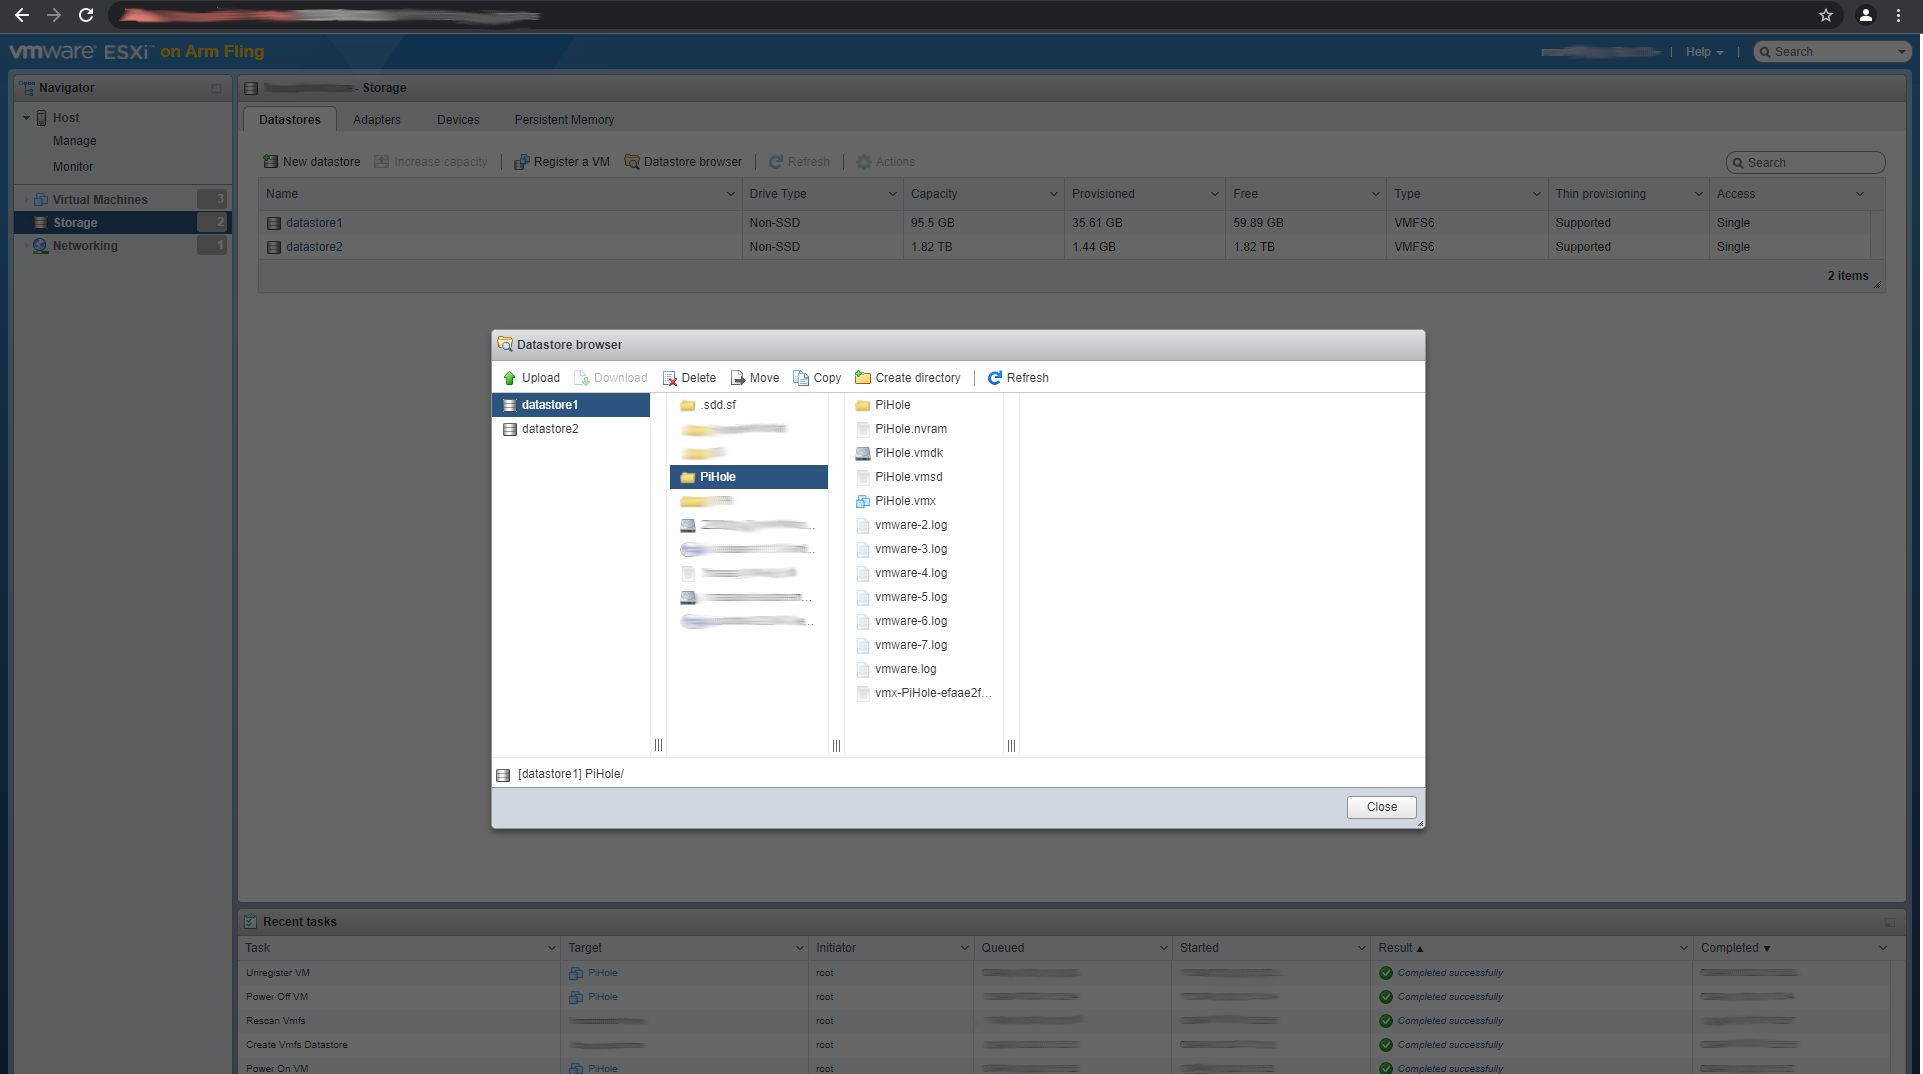
You will need to chose the destination of where you want the VM to be moved to, so I have chosen my new datastore and proceeded with the move.

You will see at the bottom of your ESXi dashboard in your recent tasks section a new task called "Move Datastore File" this will give you a progress bar of the move. Leave it running until it says "Completed successfully".
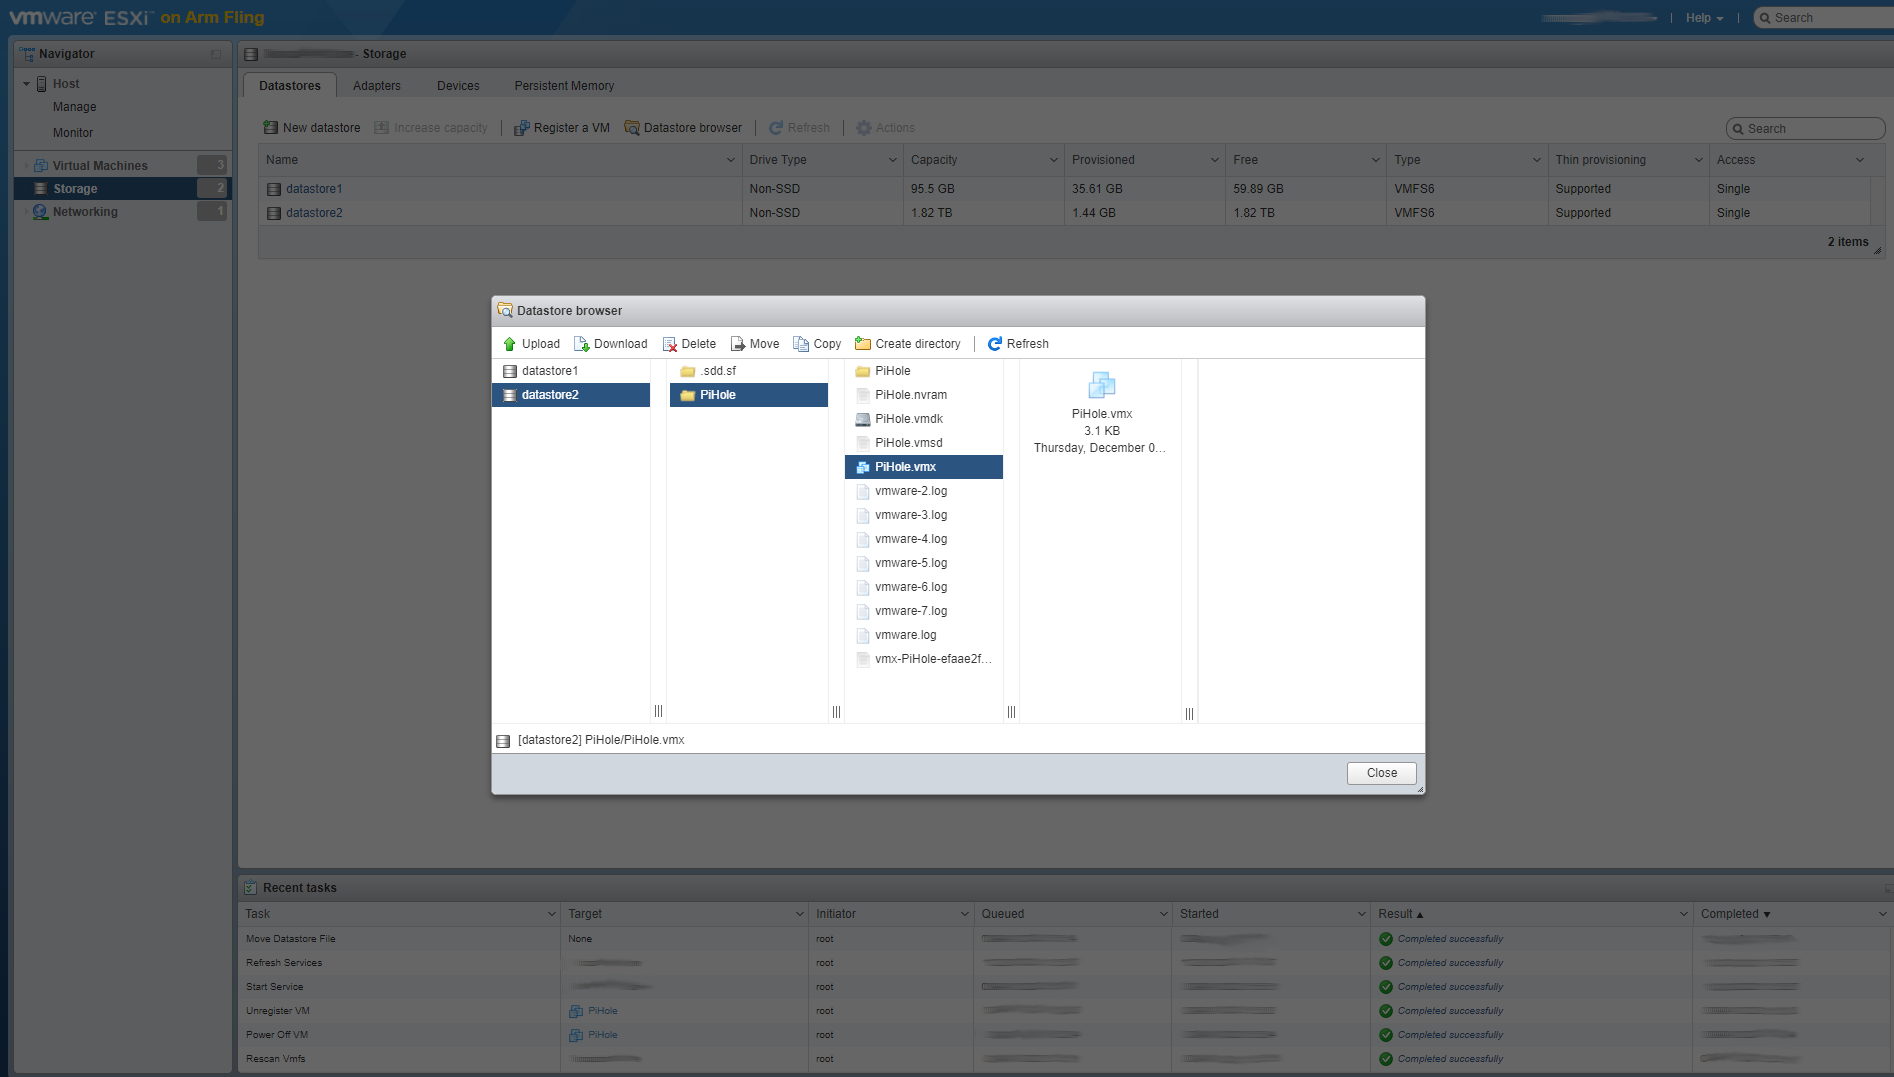
When your move has completed go back into the datastore browser and locate the VM file you have just moved into your new datastore. So I will go into datastore2 then into PiHole.
You now need to right click on the .vmx file and 'Register'. So I will right click on PiHole.vmx and click on Register.
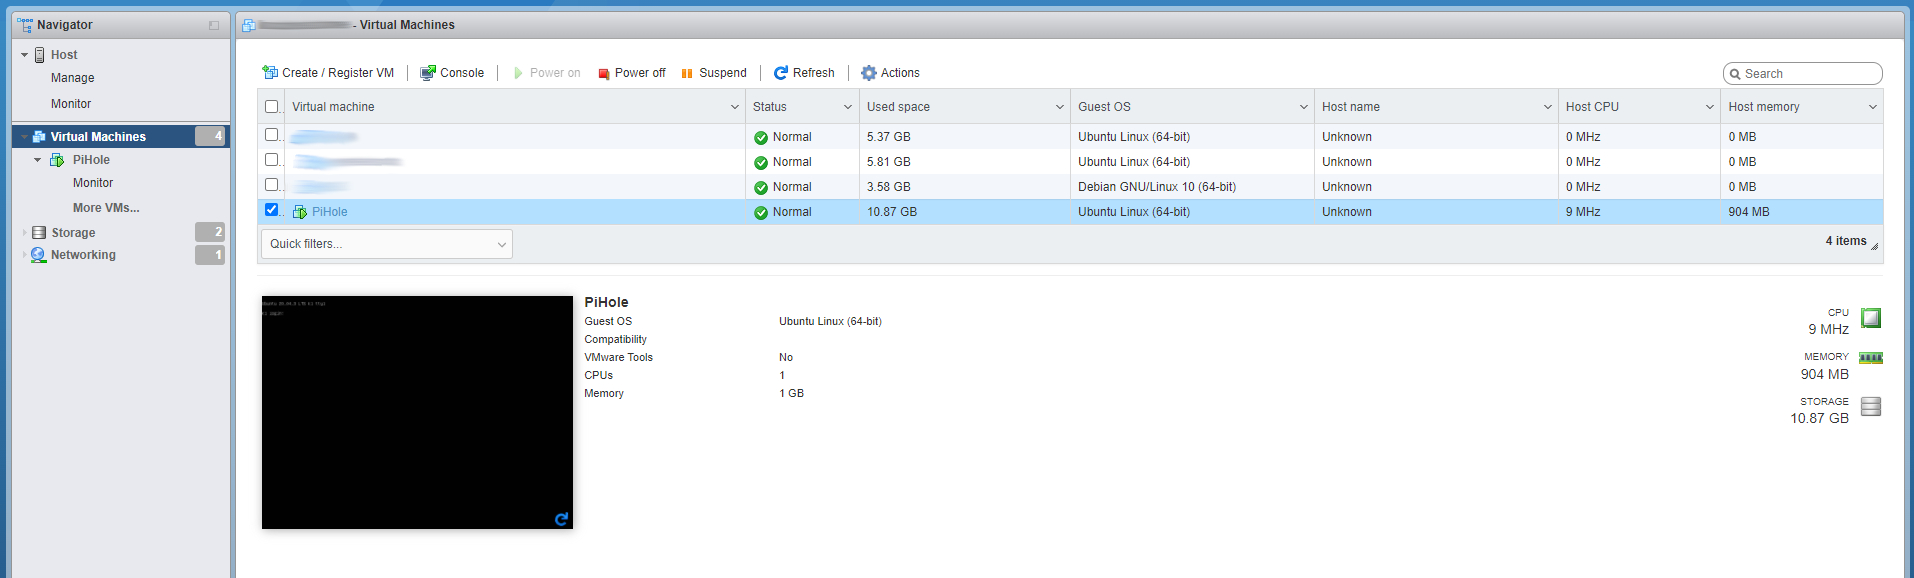
This will now make the VM we moved appear back in the Virtual Machines page.

Now you can power on your VM!!
Before it powers on, you will get a popup asking if you moved or copied the VM. Select "I Moved it" and 'Answer'.
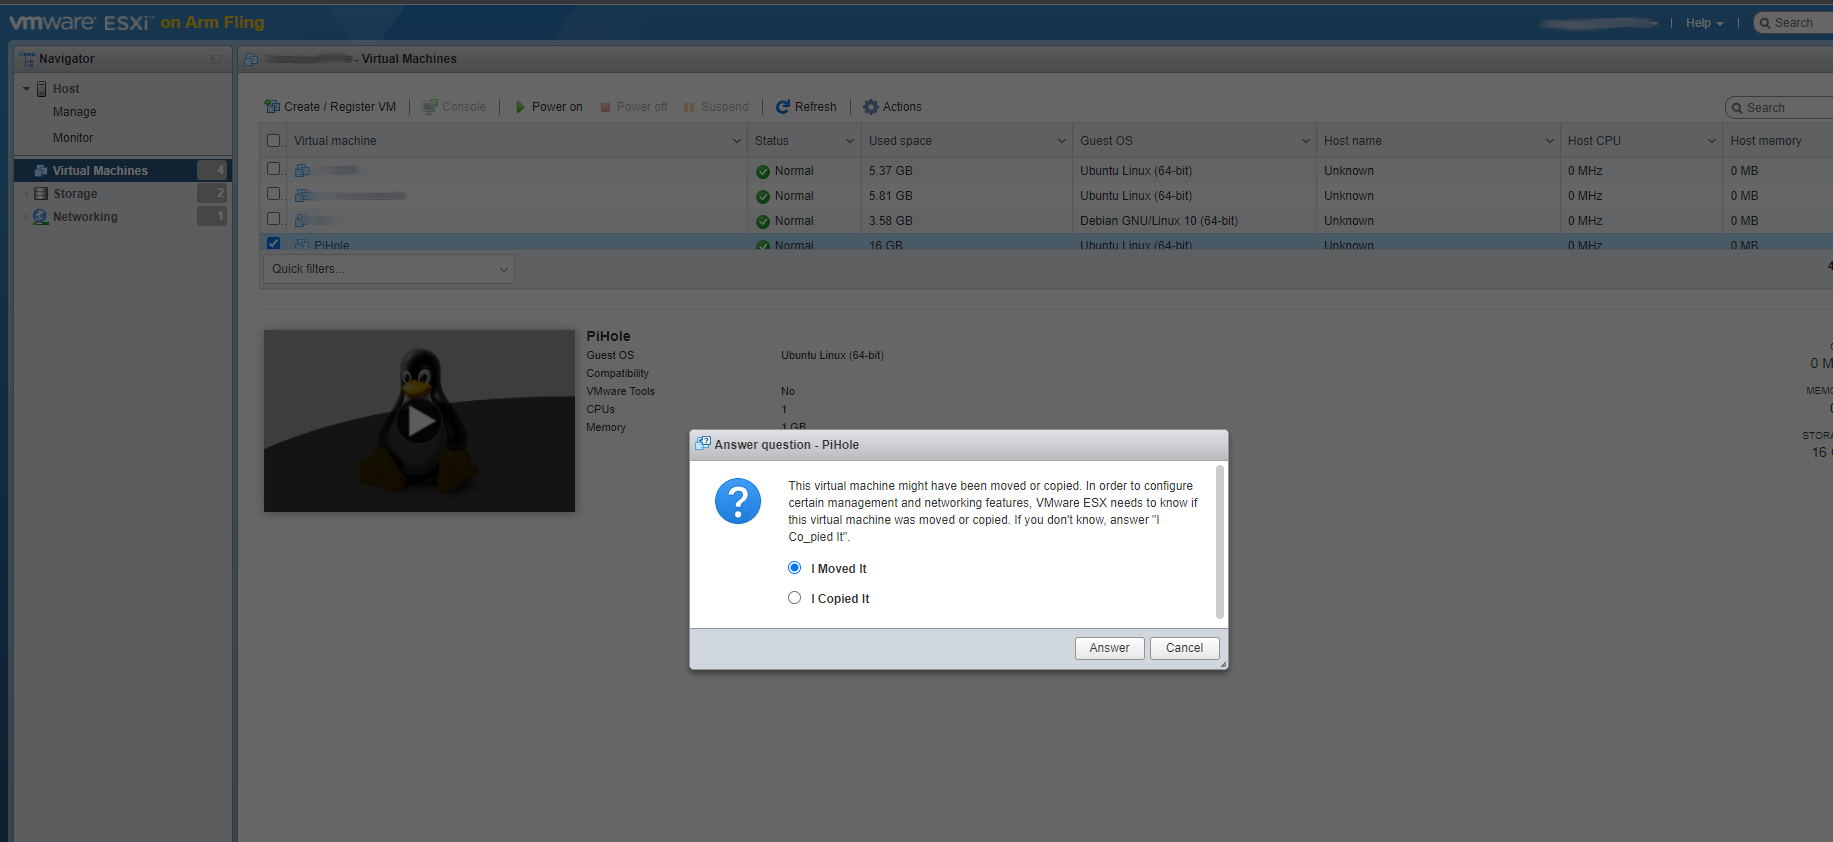
Now your VM will power on and you're back in business 🙌
Hopefully this has come in use to someone!
Until next time - Merii Kurisumasu **(メリークリスマス)